Buy Custom Polystyrene Mouldings Online: 2026 Guide
Table of Contents
- Why Buy Custom Polystyrene Mouldings Online
- How to Measure for Exterior Mouldings
- Choosing Exterior Moulding Profiles for Your Home's Style
- Custom Moulding Sizes and Made-to-Order Options
- What Affects the Price of Custom Polystyrene Mouldings
- Polystyrene Moulding Installation: What to Expect
- Delivery, Lead Times and Care for Your Mouldings
- Frequently Asked Questions
Last Updated: October 16, 2026
Why Buy Custom Polystyrene Mouldings Online
Buying custom polystyrene mouldings online lets you specify exact profiles, sizes and quantities without leaving your project site, and Outside Mouldings makes the process straightforward for homeowners, owner-builders and builders. Custom polystyrene is expanded polystyrene (EPS) cut to a precise profile and finished with a fine sand-blend render, giving the look of traditional rendered masonry at a fraction of the weight. The catch most guides skip: the online step is easy, but getting the measurements and profile right before you order is what decides whether the job looks sharp or slightly off. Below, we walk through measuring, choosing profiles, sizing, pricing, installation and delivery so your first order is your last.
How to Measure for Exterior Mouldings
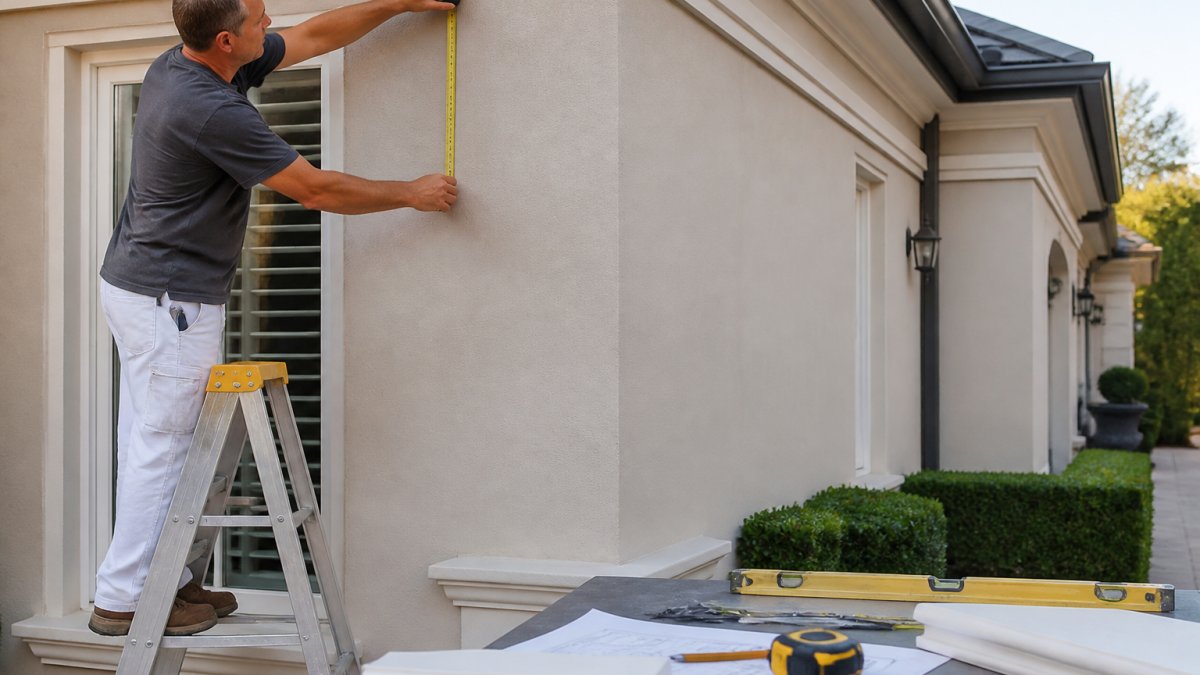
Measuring for exterior mouldings means recording the length of every run where the profile will sit, then confirming the wall is straight enough for a clean fit. Work around the whole facade in one pass and write each measurement down as you go.
- Measure each wall run at the height the moulding will sit, not at the ground
- Note corners, windows and doors that interrupt the run
- Check for bows or dips in the render with a straight edge
- Record every figure in millimetres for consistency
- Add a small allowance for cutting and mitring at corners
For a heritage or period home, photograph the existing profile from the side so the shape can be matched. A common mistake is measuring once and ordering immediately. Walk the facade a second time before you commit.
Choosing Exterior Moulding Profiles for Your Home's Style
Exterior moulding profiles should match the era and character of the building, not just the trend of the moment. A modern home suits clean flat bands and simple cornices, while a period home calls for deeper, more detailed shapes. The practical question is not just 'which style?' but 'what size and shape suits this spot, and what overall look am I trying to achieve?'
Start with the wall, not the catalogue
Before browsing profiles, note three things about the surface the moulding will sit on:
- Wall height, a low wall (under 2.7m) can be overwhelmed by a deep profile; a tall facade can make a thin band disappear.
- Run length, long uninterrupted runs suit wider bands; short runs between windows or doors suit narrower profiles.
- Existing details, window heads, sills, eaves and downpipes set the visual rhythm. A new band should align with one of these, not fight it.
These are starting points, not absolutes, the right answer depends on the look you want.
Match the shape to the job
Location |
Shape that works |
Why |
|---|---|---|
Mid-wall band |
Flat band or simple chamfer |
Reads as a clean horizontal line without competing with windows |
Under eaves |
Cornice or cove |
Softens the transition from wall to soffit |
Around windows |
Architrave or sill profile |
Frames the opening and ties into the facade |
Over garage or entry |
Deeper band or panel mould |
Adds weight and emphasis to a focal point |
Heritage restoration |
Matched profile from photo or sketch |
Preserves the original character |
Decide the overall look first
Ask yourself two questions before browsing: what size suits the wall, and what overall style are you trying to achieve? A wide band on a low wall can look heavy; a thin profile on a tall facade can vanish. If you are restoring an old home, send us a sketch or photo of the original shape and we will confirm the closest match. For new builds, decide whether you want the moulding to read as a subtle trim or a strong architectural feature.
Custom Moulding Sizes and Made-to-Order Options
Custom moulding sizes are made to order in standard 2.5m lengths, with pricing based on quantity, detail and size. This is where buying online pays off: you are not limited to a stock range.
Our made-to-order profiles start from a sketch or detailed drawing, which we confirm before production begins. Options include flat bands, wall panels, cornices and more complex moulded shapes. Whether you need a single length for a repair or a full run for a new build, the process is the same.
Option |
Profile Reference |
Price (per 2.5m length) |
Best For |
|---|---|---|---|
Choose Your Own |
OI100 (100x30) |
$33.00 |
Small trims and repairs |
Choose Your Own |
$42.10 |
Standard residential runs |
|
Choose Your Own |
OI140 |
$46.75 |
Wider facade bands |
Choose Your Own |
OI150 |
$49.10 |
Larger architectural features |
All prices exclude delivery. Production on all mouldings is 10 working days from acceptance of confirmed detail.
Choose your own - OI100 - 100x30 Profile →

What Affects the Price of Custom Polystyrene Mouldings
Price for custom polystyrene mouldings depends on three things: quantity, the detail of the profile, and its overall size. A simple flat band costs less than a deep, intricate shape because it takes less time to cut and finish.
Buying more lengths of the same profile lowers the cost per length, so it pays to measure the full job before ordering rather than topping up later. Detail matters too: complex geometries and tight curves take longer to produce. Size is the third factor, since a larger profile uses more material.
Polystyrene Moulding Installation: What to Expect
Polystyrene moulding installation is a DIY-friendly job for anyone with basic skills, because the profiles are lightweight and easy to handle. You will need a fine-tooth saw, a mitre box, construction adhesive and a caulking gun.
Tools and materials
- Fine-tooth hand saw or oscillating multi-tool
- Mitre box or mitre saw for clean corner cuts
- Construction adhesive (solvent-free, suitable for EPS)
- Caulking gun
- Measuring tape, pencil and spirit level
- Sandpaper (120-180 grit) and sanding block
- Exterior water based and sandable gap filler or flexible sealant for the outside perimeter of the moulding.
- Water based exterior paint
- Clean cloth and mild soapy water
Step-by-step
- Prepare the substrate. The wall must be clean, dry and free of loose render, dust, mould or flaking paint. Scrape back any loose material and brush the surface down.
- Dry-fit each length. Hold the profile in place before applying adhesive. Check that it sits flat against the wall and that corners meet cleanly. Mark any cuts.
- Cut and mitre. Use a fine-tooth saw for straight cuts and a mitre box for 45-degree corners. Cut slowly to avoid tearing the EPS. Lightly sand cut edges to remove burrs.
- Apply adhesive. Run a continuous bead of construction adhesive along the back of the profile, about 10-15mm from each edge, plus a few dabs in the centre.
- Press into place. Position the moulding and press firmly along its length. Use a spirit level to check it is straight. Hold or tape in place until the adhesive grabs.
- If using our quick spray contact adhesive, pull off the wall, allow to tack off then reposition.
- Fill joins and mitres. Once the adhesive is set, fill any gaps with our patch kit. Sand lightly once dry, and reapply blending in with a damp sponge or paint brush.
- Paint. Apply 2 coats of a good quality exterior water based paint, no longer than 7 days after installation.
Common mistakes to avoid
- Skipping substrate prep, adhesive will not bond to dusty or flaking surfaces.
- Using too much adhesive, it can squeeze out and make a mess.
- Not dry-fitting, a length that looks right on the ground can sit wrong on the wall.
The lightweight nature of EPS is the real advantage here. You can lift a full 2.5m length yourself, which is not true of traditional masonry trim. If you can hang a shelf and cut a straight line, you can fit these.
Delivery, Lead Times and Care for Your Mouldings
Delivery and lead times are worth planning around, especially on a renovation with trades booked. Production runs 10 working days from confirmation of your order details, and delivery is quoted separately based on your location and quantity.
Because the profiles are lightweight but can be damaged by rough handling, check lengths on arrival and store them flat and dry before installation. Keep them out of direct sun and off damp ground. Once installed and coated, the sand-blend render finish is durable. But always mantain, by checking sealant and reapplying if needed.
Frequently Asked Questions
How do I choose the right size of exterior moulding?
Start by measuring the height and width of the area you want to dress, such as a window or door surround. For exterior mouldings, a common rule is to use a profile that is roughly 1/7th the height of the opening. If you are unsure, order a sample or contact the supplier with your measurements and a photo. Outside Mouldings offers custom sizes from 100mm to 500mm profiles, so you can match the scale of your home.
Can polystyrene mouldings be made to a custom shape?
Yes. Custom polystyrene mouldings can be cut to almost any profile using precision CNC machinery. You simply provide a sketch, drawing or photo of the shape you want, and the supplier will confirm the details before production. Outside Mouldings specialises in made-to-order profiles, with production taking about 10-15 working days from confirmation. This is ideal for heritage restorations or unique architectural features.
What measurements do I need before ordering custom mouldings?
You will need the total linear metres required, the height and width of each moulding profile, and the number of lengths. Standard lengths are 2.5m, so divide your total linear metres by 2.5 to work out how many lengths to order. Also note any corners or angles. If you are measuring for exterior mouldings, take photos of the area and note the substrate (brick, render, weatherboard) so the supplier can advise on the best adhesive.
Are polystyrene mouldings suitable for exterior use?
Yes, when they are specifically made for exterior use. They are designed to withstand Australian weather conditions. However, they must be installed correctly with the right adhesive and finished with a quality exterior paint or render. Always check that the product is rated for exterior applications before buying.

Comments